“Manage Users” is a tool inside Canvas courses that is available to Teachers and Facilitators where you may add or remove users in your course. Since Students are loaded automatically based on their Registrar section, you will typically be using “Manage Users” to enroll TAs, Facilitators, Designers, Teachers, etc. Some functions, such as creating and managing new sections, or enrolling in large courses, must be carried out through “My Canvas Course Management” at https://my.ufl.edu.
Adding Users
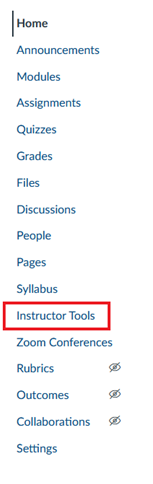
1. Click “Instructor Tools” in the course toolbar.
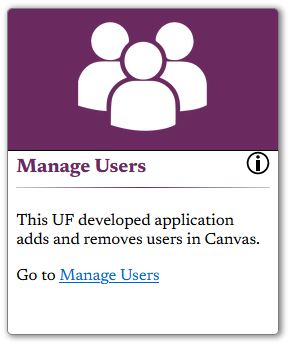
2. Select “Manage Users” from the list of tools.
3. From the landing page, click on "added."

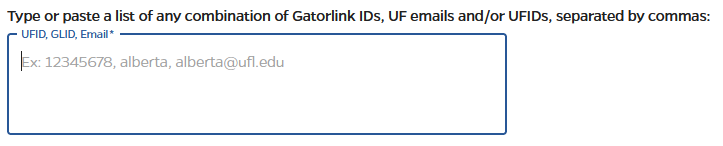
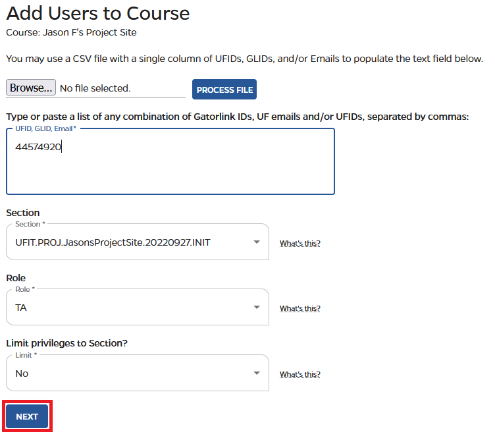
4. Enter the UFID, GatorLink username, or UF email for the person you want to enroll. You can also enter multiple UFIDs, GatorLink usernames, or UF emails separated by commas. Please note: college-specific emails, like warrington.ufl.edu or phhp.ufl.edu, will not work. You will need to use the UFL email address.
5. Select the Section.
- The “INIT” section is where Teachers/TAs/Facilitators/Designers are enrolled.
- MISC section is used for adding a student who is not registered through the Registrar.
- Registrar sections – the only time you would choose this section is if you wanted to put a TA in the section and “limit to section” so that the TA can only access those students.

6. Select the Role. The "What's this?" link provides a list of all available roles and their respective privileges. Please note: if enrolling multiple people at one time, you can only choose one role at a time. So you will want to add any Facilitators in one batch, TAs in another batch, etc.

7. Limit to Section.
- This option limits the person to interact ONLY with the participants in the section in which you are enrolling. This is a mandatory field, but for most cases, it is not necessary to limit users to a section, so you can select "No."
- If you put a TA in a section and limit to section, you will also need to enroll the TA in the INIT section and limit to that section as well. If the TA is not in the INIT section, the TA will not be able to interact with the Teachers and others enrolled in the INIT section.

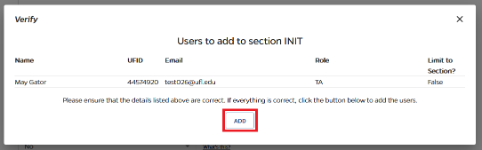
8. Select “Next”.
9. On the following page, select “Add”.
Removing Users
1. Click “Instructor Tools” in the course toolbar.
2. Select “Manage Users” from the list of tools.
3. From the landing page, click on "removed."

4. Check the box next to the user/s you wish to remove.

5. Select "Remove Users."
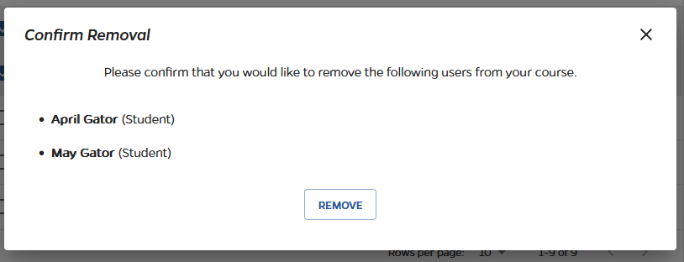
6. On the following page, select "Remove" to confirm your selection.